Although it may not look (or smell) like it, most Live Rock must go through the course of curing to ensure the health and safety of the marine life in our aquarium. Curing, or lack thereof, will be detrimental to the optimum water conditions in your tank.
So, for us to find the out the correct methods of curing live rock, letâs first look into the live rockâs background and the significance of the curing process.
Moreâ¦
What are Live Rocks?
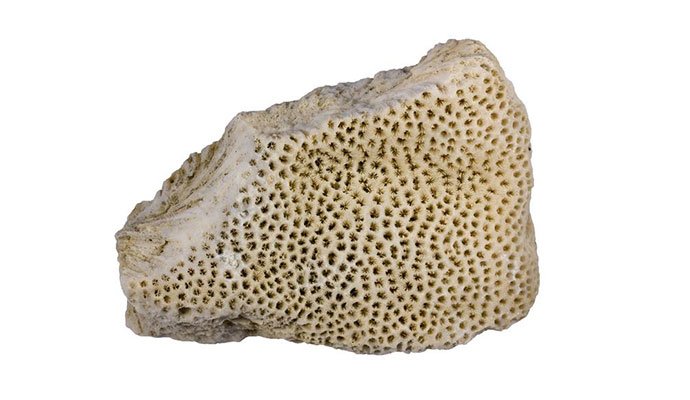
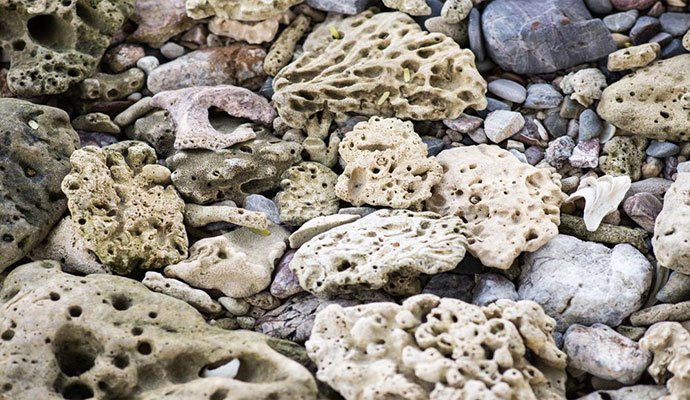
The term âlive rockâ is somewhat a misnomer. First of all, itâs not made of stone in the strictest sense. Live rocks are the dried up skeletons of old corals and other calcareous organisms that you may find on coral reefs deep in the ocean.
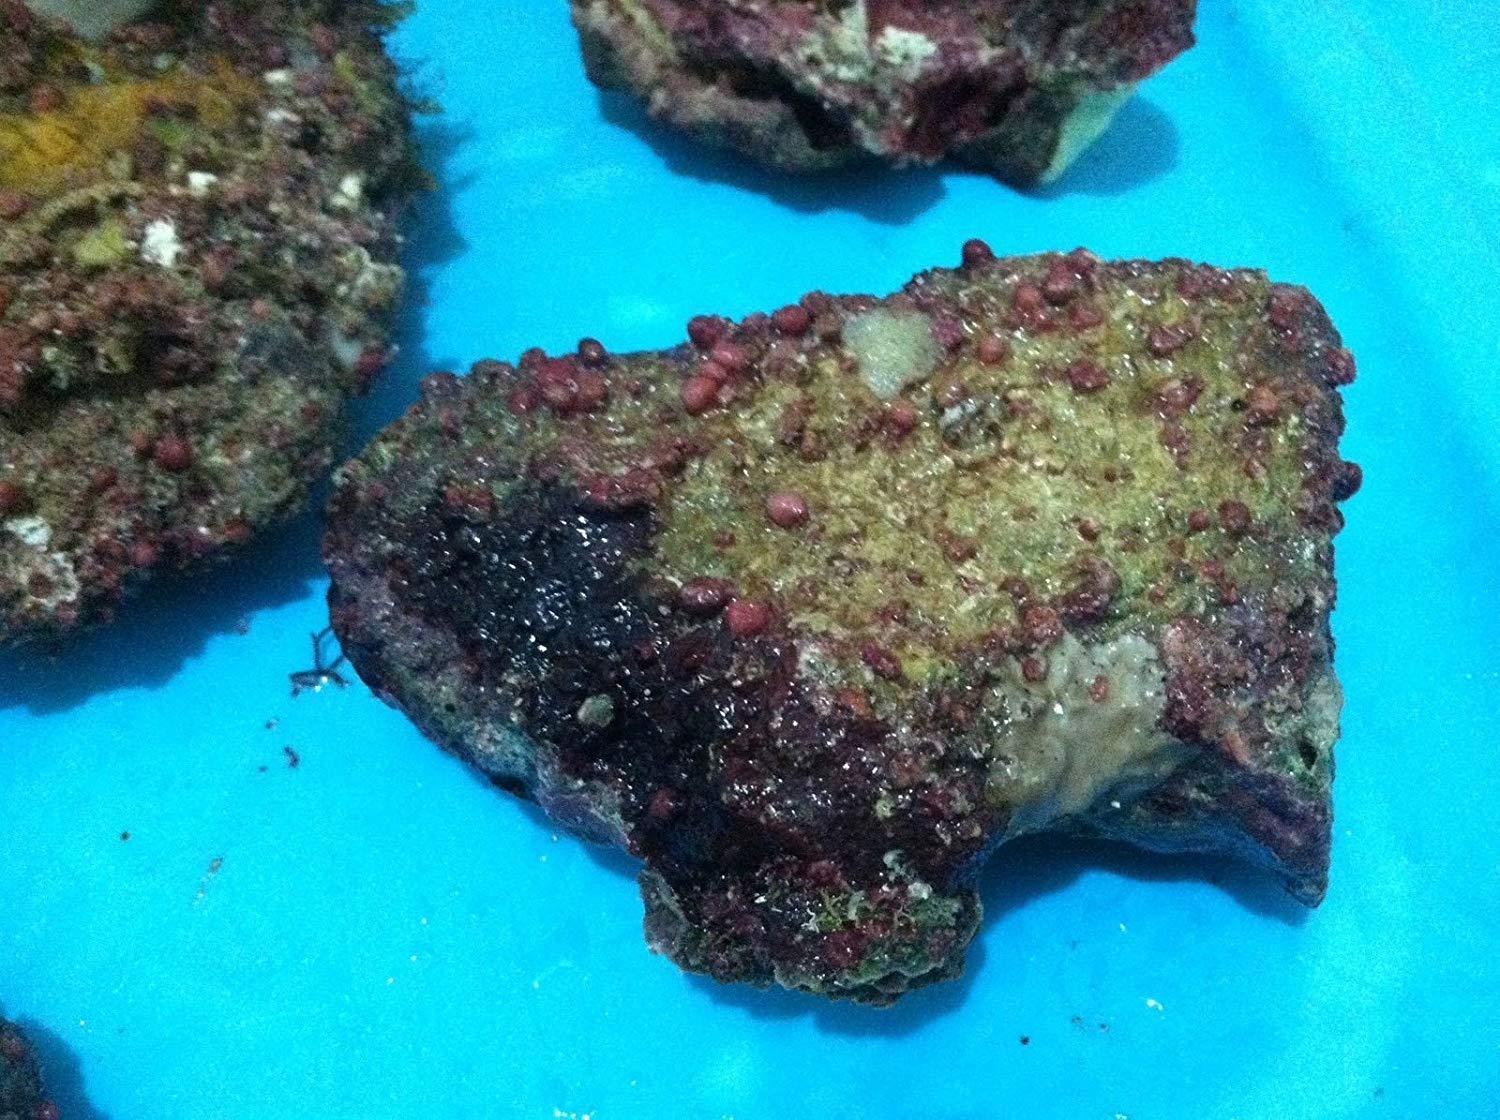
Then, we these dead corals are broken off from the reef and settle on shallower waters, small and minute marine life inhabit the porous coral skeleton, hence making it âalive.â
Although many live rocks naturally break off from coral reefs, some are farmed and cultured for aquarium use and reef hobbyists.
The Need to Cure Live Rock
Harvesting and transporting live rock results in a die-off for many of the marine life inhabiting the rock. The decomposing organisms will then produce massive amounts of ammonia.
Hence, prematurely adding a live rock before the curing process will most likely result in fatal ammonia poisoning for the precious marine life already in your aquarium.
Another risk that curing minimizes is the presence of unwanted invertebrates or other pests which you may unknowingly add to your tankâs ecosystem.
How to Cure Live Rock
The process of curing goes beyond just removing the dead matter on the live rock. Youâll need to prepare and produce the needed tools youâll be using even before you receive your live rock.
After the preparations, youâll need to clean the live rocks before the actual curing process. Afterward, you can proceed with one of two methods of curing depending on whether youâre adding the live rock to a new uninhabited tank or into an established aquarium.
Preparations
Patience
The first thing youâll need to keep in mind is that the curing process may take several weeks to a few months. So prepare now to be patient and avoid rushing the process.
Find a curing location
The high ammonia levels present in both the rock and the water it will be sitting in will naturally produce a lot of unpleasant odors. Hence, be sure to keep this fact in mind as you choose the place where youâll be setting up your curing station.
Also, try to find a location that is dimly lit to retard any unwanted algae growth.
Set up a curing station and also ready tools youâll be using
Things youâll need
- Protective gloves
- A separate bucket for pre-cleaning the live rock
- Needle-nosed pliers
- A spray bottle
- Brush
- âSaltwater with a specific gravity of 1.012 â 1.025. Ensure that you have enough the completely cover the live rock as well as for the subsequent water changes during the curing process.
- âSaltwater with a specific gravity of 1.035 to 1.040. Youâll be using this batch of saltwater to remove any invertebrates that may have hitchhiked on the live rock
- âRefractometers
- âWater testing kits to measure ammonia, nitrite, and pH levels. Although you can get separate measuring tools for these water conditions, I suggest getting the convenience of a master test kit.
- âA new nylon bristle brush or a new toothbrush
- âA large enough container for the live rock and prepared saltwater
- A heater for consistent temperatures in the tank or container during the curing process
- A powerhead or airstone for water movement and circulation
Pre-cleaning

Once your live rocks arrive, put on a pair of protective gloves and check for any signs of decomposition and dead matter. Pre-cleaning live rock may be optional but doing so will hasten the curing process.
- Get rid of any pests and unwanted invertebrates by letting your live rocks sit in a bucket of saltwater with a specific gravity of 1.035 to 1.040 for one minute. This salinity levels will quickly make any marine critters leave the rocks.
- Remove rock from the bucket and then you can pick the invertebrates youâll want to add to your aquarium. Afterward, you may discard the salt water and the pests.
- As you clean, pour some prepared saltwater (specific gravity: 1.012 â 1.025) into a spray bottle for keeping the rock moist. You can remove any remaining worms with needle-nosed pliers
- Remove and wash off with saltwater loose debris and dead matter by hand or with a brush.
- Take care that you do not brush the whole rock or even too aggressively as you may also end up removing beneficial organisms.
After pre-cleaning, weâre now ready for the actual curing process.
Curing Method A: New Tank
- Place your pre-cleaned live rocks in the prepared saltwater with a specific gravity of 1.021-1.025.
- Keep tankâs lighting system off and water temperatures from 76-84°F
- âUse a new toothbrush to remove any white film or dead matter routinely
- âRemove any debris or organic matter that may collect on the tank bottom
- âChange half of the water weekly.
- Periodically measure the ammonia and nitrite levels of the saltwater.
- When, after several weeks, the ammonia and nitrite levels have gone to zero, make one more 50% water change.
- âFinally, after 24 hours, measure and adjust the pH to the level of 8.1 to 8.4
- âYouâve successfully cured your live rocks, and your tank is now ready for new inhabitants
Curing Method B: Established Tanks
- Place the pre-cleaned live rocks in a separate quarantine tank or large bucket.
- Fill the container with enough prepared saltwater (specific gravity: 1.021-1.025)
- âEnsure that the environment is dimly lit and the water temperatures around 80°F to hasten die-off
- âProvide adequate water movement with an airstone or powerhead
- âChange all of the water two times every week
- âBetween these water changes, you should remove and dead matter or white film off of the live rock with a new toothbrush.
- âPeriodically monitor the ammonia and nitrite levels of the saltwater.
- When these water conditions drop to zero and stabilize, you can now add the live rocks to your established aquariums.
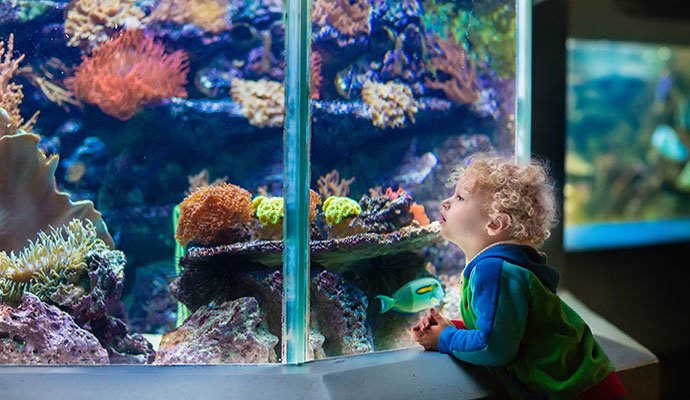
Conclusion
Life rocks will add beauty and improve the health of your aquarium and all its inhabitants. Hence, always ensure that the live rocks you add have been thoroughly cleaned and cured!
>>> Read More:
Related Posts:


