You can never catch a crawfish without a specialized trap. You dont also have to catch this critter with your bare hands! Therefore, you should know how to build a crawfish trap by yourself!
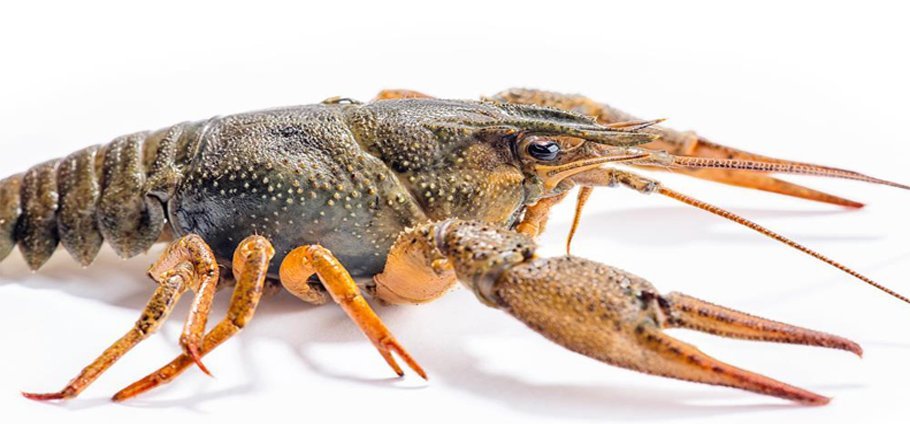
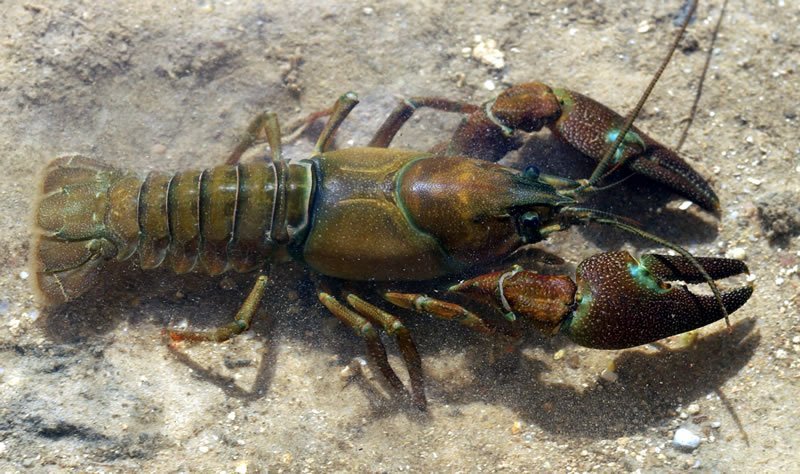
There are several things you have to know about crawfish. First, they live on lakes, ponds, and rivers. Therefore, finding them is quite easy. Second, these fishes are a great source of protein. If you are stuck in an emergency situation, a crawfish meal can give your body the boost it needs!
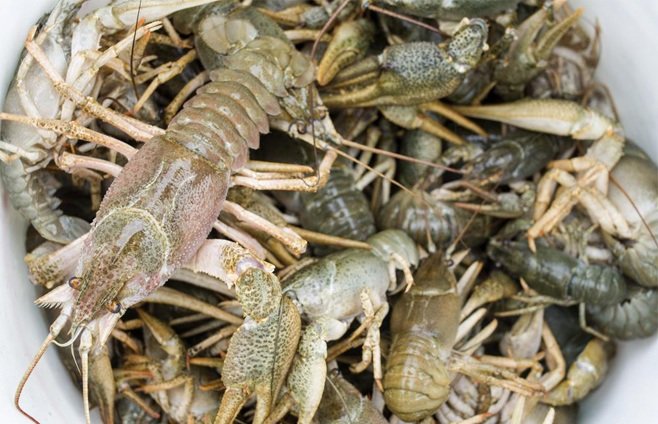
However, you need to catch a lot of these fishes to sustain the necessary nutrients of your body. Because of this reason, you will need to craft your crawfish trap!

Honestly, there are a lot of crawfish traps you can buy at different outdoor stores. However, why spend when you can make one for yourself? Are you a member of the weekend warriors? If you are, then you should love this tutorial about DIY crawfish traps. You can build a trap that is as good as those sold in the market today! The best part of making your crawfish trap is that it saves you a lot of money!
So what are we waiting for? Let us start this crawfish trap tutorial right now!
How To Build A Crawfish Trap
There are several designs you can choose from for your crawfish trap. However, we will be teaching you a simple yet effective design that certainly catches these freshwater crustaceans.
Preparing The Bottles
- First, prepare two-liter bottles. Remove the wrappers from the bottles to make your trap as clean as possible.
- Take your bottles to a sink hose and rinse them thoroughly. As we mentioned, you have to remove all of its plastic and paper labels. Scrape them off, if necessary.Not cleaning the bottles increases the risk contamination in the water body where the crawfish are living.
You don’t want to harm the natural habitat of these creatures. You should preserve. Or else, you won’t find another of these fishes on your next trip!
- After cleaning, you have to cut one of the bottles in half. A sharp knife or a pair o scissors can do this job effectively. You should cut in the area half an inch above the middle of the bottle. In cutting, make sure that the edges of the bottle are smooth and even.
Ideally, you can use a marker to line the path where you will cut. Just make sure that you will wash off the marker after cutting.

- You need to cut the second bottle. The cut should be an inch higher on the bottom of the bottle. Once again, markers are useful in this part. You have to remember that the bottles should fit into each other. Therefore, you have to make your cuts clean and precise.
- Next, make bottles come together. Do this by creating a ramp shaped like a funnel. This is where the crawfish will crawl to your trap. Be sure to take off the lid of the second bottle. Afterward, you need to fit the lid of the small bottle top to the opening of the large bottle top.
This design allows your trap to have a wide opening to crawl in. Moreover, it would be difficult for the crawfish to walk out of the trap in this design.
Connecting The Bottles
- You have to make five holes on the bottom of your trap. These holes are essential so that you can tie the outside and inside bottles together. Once this is done, your trap is almost ready to get the toughest crawfish out there. You can make the holes by either burning or drilling.In making the hole, ensure that it is aligned with the outer and inner bottle.
An awl, power drill or any perforation power tools will let you do this job quickly and efficiently. Moreover, you have to be careful in making the holes. Make sure that the bottles won’t slip during the entire process!
- After the first holes, you have to make another batch of the same number. This time, you should drill them above the original holes you created. Specifically, these layer of holes should have a distance of around one centimeter.
These holes are necessary because these are the areas where you will thread the strings to tie up the bottles.It is also possible to use the original holes alone in threading the bottles together. Just use a zip tie to thread the holes. After threading, tighten the knot on the outside of the bottle.
- If you choose to make two layers of holes, you have to follow these steps. First, run the zip tie to any of the lower holes. Do this from the outside of the bottle. Second, thread the tie to an adjacent hole on the top. Tighten the knot so that the trap will hold up decently.
Repeat this process until all the holes have been threaded.The holes mustn’t have any gaps present. Moreover, the rigs should not come loose. In this way, your crawfish trap can handle the toughest catching on the water!
- Once you are satisfied, you can trim the zip ties. Take a sharp pair of scissors to cut off the excess threads of the zip ties. Although this step is optional, doing this will give your trap a cleaner and tighter appearance. Furthermore, the loose ends can attract weeds, gunk, and mood that are ever present in the natural habitat of crawfish.
Final Touches
- You should give your crawfish trap additional weight. A crawfish likes to spend time at the bottom of the water. Therefore, the weight will enable your trap to sink into the water. Through this, you can expect that there will be crawfish that will wander in your trap.
To add the weight, you have to create a small hole at the bottom part your trap. After this, use a small zip tie to attach a lead fishing weight. There is no exact way to determine the buoyancy of the water. Therefore, you have to select weight in which makes the trap sinks by trial and error. We recommend that you should use lead fishing weights that are 1 to 5 pounds heavy.
- You will also need to put weight on the top portion of your trap. Just use the same weight that you had on the bottom of your bottle. Ideally, you could pick a weight size that is slightly lighter than the first one you used. In this way, your trap will always maintain a balanced position while it is submerged in the water.Your trap will get eaten by the mud once its bottom part has weight attachments!
- You have to tie a sturdy thin rope to the trap. You can attach the string on one of the zip ties or you can do it beneath the lid. Drill two holes so that you can thread the rope in them. The additional rope will prevent your trap from floating downstream. You can also use it to the make adjustments to the trap.
- The last part of making the crawfish trap is putting the bait. To do this, you have to unscrew the top cap. Once it is open, you have to put your bait inside the chamber. Once the bait is ready, you have to screw back the top cap so that the creature won’t be able to escape.

There are a lot of choices when it comes to crawfish bait. However, we recommend that you should choose fish meat. A crawfish loves to eat fish! If you refer to Swedish fishers, they will certainly suggest that you have to use shiners, sunfish, and herring.
On the other hand, Cajun anglers are fond of using pogies and gizzard shad as their bait for crawfish. Meanwhile, the West Coast will tell you that oily fish such as salmon heads are good bait for crawfish!
Conclusion
Learning how to build a crawfish trap is essential for every outdoor adventurer because it will give you the benefit of having a free meal on any short excursions. The fishing trap outlined in this tutorial can also give you necessary sustenance on emergency situations. The only thing you have to do now is to practice how to set the trap correctly. In this way, you can guarantee that you can get a catch at the end of the day!