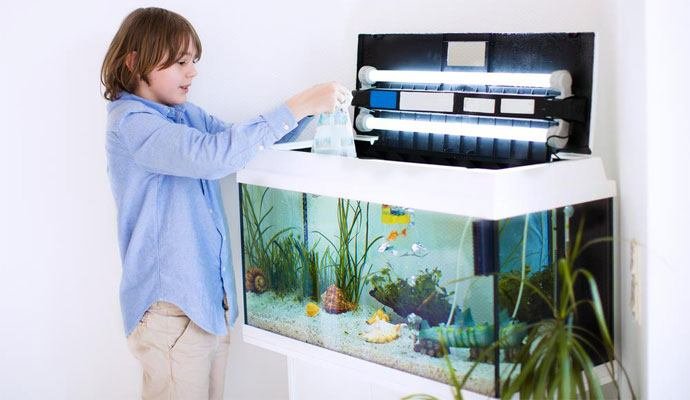
Air pumps are tools that help your fish tank become more of a suitable environment for your fish. Often, you’ll need your air pump especially if you have an aquarium with a filter that requires this device.
The good news here is that today, you can learn how to make an air pump at home without purchasing one. Not only is this a creative idea, but it’s also a good practice for your wallet!
What’s the purpose of an Air Tank?
With the name itself, air pumps work by aerating your aquarium. It helps move air which helps provide a safer and healthier ecosystem in the aquarium. Usually, you’ll see aquariums have pebbles and other movable objects in it.
This is because adding such items will help the air pump do more of its job. A moving object inside the aquarium means that there will be more air movement inside.
At the same time, an air pump protects the areas of your aquarium that are hard to reach from these objects.
Remember, the general rule here is that if you have a small and simple fish tank, you won’t need an air pump, but if you have a larger and more complex one, you’ll be needing it;
The Procedure
Step 1: Make sure that your aquarium filter is set.
Step 2: Make sure to clean the soda bottle carefully.
Step 3: Do you markings and trim the bottle.
Step 4: Put holes around the neck of the bottle.
Step 5: Place a piece of the overflow pipe into the bottle.
Step 6: Cut the sponge next.
Step 7: Set up the air pump in the aquarium.
Wrapping Things Up
Things You Will Be Needing
Making your DIY (do-it-yourself) air pump can be pretty easy. However, there are a lot of things you might need. Aside from the aquarium itself with the gravel and filter, here are several things you have to get first before you get those creative juices flowing.
- Empty soda bottle
- Measuring tape
- Overflow pipe – this is one of the most, if not the most valuable material. This is what will pump air into your aquarium.
- Sponge – it does not have to be that big since you will just be cutting a portion from it. However, it must be clean and unused.
- Plastic tubing – the plastic tubing must be long enough to reach the bottom of the tank.
- Filter wool – this will be used as lining for the bottom of your aquarium filter if you still haven’t set it up.
The Procedure
Step 1: Make sure that your aquarium filter is set.
For the air pump to work properly, fill in two-thirds of your aquarium filter with gravel. Nothing more and nothing less as this will affect how the air pump will work. Next, make sure that the bottom of the aquarium filter is lined with filter wool.
This will be the base for your DIY air pump.
Step 2: Make sure to clean the soda bottle carefully.
It is not just enough to rinse the empty soda bottle. You have to sterilize it as well to make sure that air is the only thing it pumps into your aquarium. You can do this by just simply adding some rubbing alcohol to it. Let the rubbing alcohol sit in the bottle for a few minutes.
This will give the alcohol enough time to sterilize the inside of the bottle. After this, simply pour out the rubbing alcohol and leave it to dry. Make sure that it has dried out completely before performing any of the next steps.
Step 3: Do you markings and trim the bottle.
Once your soda bottle has dried out completely, you can start marking parts of the container which need to be cut off. First, measure three inches down from the top (the neck of the bottle) of the bottle and mark it. You can use a permanent marker to do this.
Following the mark you made, cut along your mark on the bottle to remove its unnecessary parts. To do this more precisely and efficiently, use a handsaw to cut through the bottle.
Step 4: Put holes around the neck of the bottle.
After separating the neck of the bottle from its body, use a fork or any sharp object like a pin to put holes along the bottle’s neck. The holes should be aligned to each other and form a circle the bottle’s neck.
This will serve as a crucial part of the air pump, so it has to be done correctly.
Step 5: Place a piece of the overflow pipe into the bottle.
After putting holes around the neck of the bottle, place the bottle’s top section (the part which you marked and cut off) back into its base. Make sure that it fits perfectly and tightly. If it is quite wobbly, keep rotating the top section until you find the right snug.
Next, take your overflow pipe and cut a portion slightly taller than the bottle. You can do this again with a handsaw. After this, you can now place that part of the pipe in the bottle’s mouth.
Step 6: Cut the sponge next.
Cut a portion of the sponge. Make sure you can fit it into the pipe. Insert the plastic tubing through the sponge. There should be enough tubing to reach to the bottle in the tank and out into your DIY air pump.
If it still doesn’t reach through in and out, adjust the length of the tubing before finalizing anything.
Step 7: Set up the air pump in the aquarium.
Finally, place the air pump in the aquarium. Make sure that the tubing reaches the bottom of the tank. Then wait for bubbles to form before leaving the air pump as it is. This is to make sure that your DIY air pump is working entirely.
If not, go through the steps again and see if you’ve done anything wrong or if you’ve skipped any step.
Wrapping Things Up
Making your very own aquarium air pump might seem like too much of a task. However, it can be very practical. This is because a lot of the things you’ll be needing might just sit at home, accumulating dust.
Finally, it can also save you money from buying a new pump from stores. Not to mention, you get a sense of accomplishment that’s worth telling the next person who looks at your fish tank.
So if you’re feeling extra creative, doing a little DIY project at home won’t hurt.
If you found this article informative, give us a like, comment, and share it below!
>>> Read More:


